Getting started
Olano Cloud
Deploy an instance on cloud.olano.ai, open the dashboard address it gives
you, and the setup wizard below takes over. Nothing to install and nothing to
keep running yourself — see Olano Cloud. Your sign-in is
created on the instance before it is reachable, so the first screen you see is
Sign in: use the email you signed up with and the temporary password from
your welcome email (also copyable from the deployment card in the cloud
console). The dashboard address carries no credential — nothing signs you in
by itself, and a Create your account screen on a fresh cloud instance
means its setup has not finished; wait a minute and reload rather than
creating an account.
While the instance still has that temporary password, the sign-in screen says so itself: it greets you as a new instance and shows a First sign-in note that the password is in the email we just sent you, with a link that opens your deployment's Security tab in the cloud console, where the password stays copyable. Forgot password? points to the same place. Once you have set a password of your own (the setup wizard's profile panel, or a password change), the note is gone for good and the screen is the ordinary sign-in form. The note never shows your email or the password; it only says where to find them.
Self-hosted
The quickest install is the Docker Compose stack in the Olano repository
(deploy/self-host/): three containers from the public images, started with
one script.
mkdir olano && cd olano
for f in docker-compose.yml Caddyfile .env.example setup.sh; do
  curl -fsSLO "https://raw.githubusercontent.com/olano-ai/olano/main/deploy/self-host/$f"
done
bash setup.sh                                  # http://localhost:3200
bash setup.sh --host olano.example.com         # or https on your own hostname
The script writes the generated settings into .env, pulls the images and
starts the stack; everything the install keeps lives in a data directory
next to the compose file, and backing that directory up backs up the install.
Open the dashboard and the setup wizard takes over. Updating is
docker compose pull && docker compose up -d; the README beside the compose
file covers pinning a version, moving the data directory and the day-to-day
commands.
Running from source (the Python package, with the dashboard on port 3200
and the runtime API on 8765, both configurable in config.yaml) is
described in the repository's README. Either way, from then on everything
happens in the dashboard and in conversation with your agents, exactly as on
the cloud.
Models are paid for either way you like: paste your own provider keys, or run
on Olano credits with an Olano API key from cloud.olano.ai (see
Models and credits).
The wizard offers both.
The setup wizard
The first time an admin opens the dashboard on a fresh deployment, a full-screen wizard walks through four short panels, then drops you straight into a conversation with Agent Father:
flowchart LR
    A["Sign in"] --> B["Setup wizard<br/>four short panels"] --> C["Chat with<br/>Agent Father"] --> D["Describe your<br/>first agent"]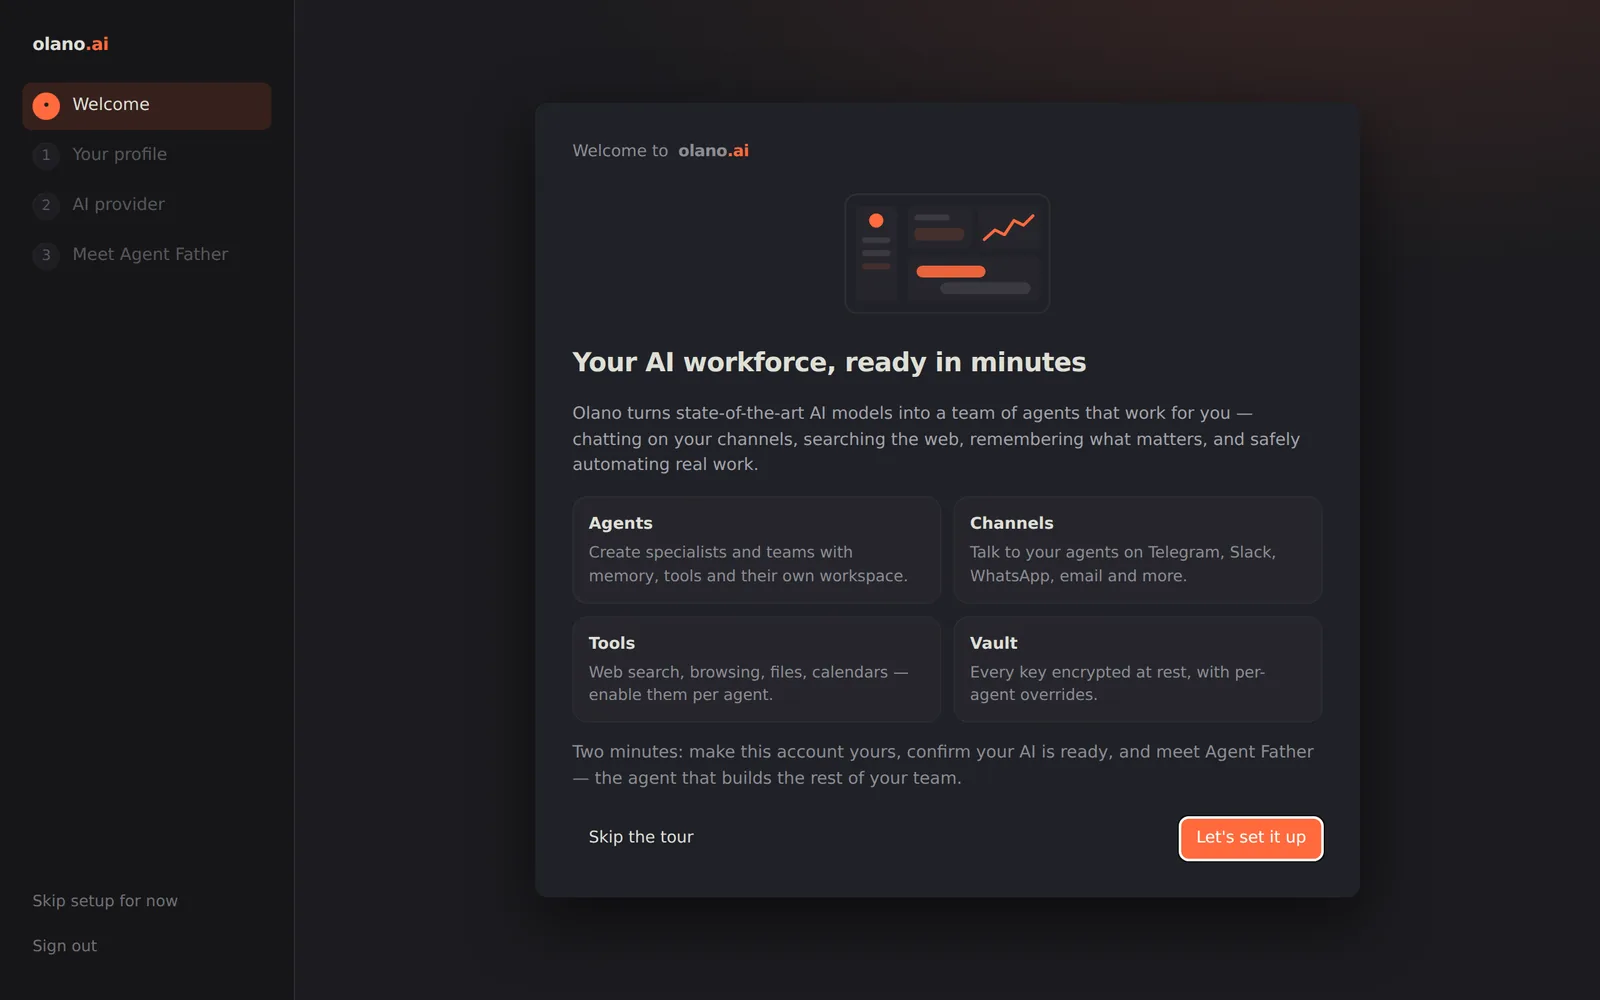
- Welcome.
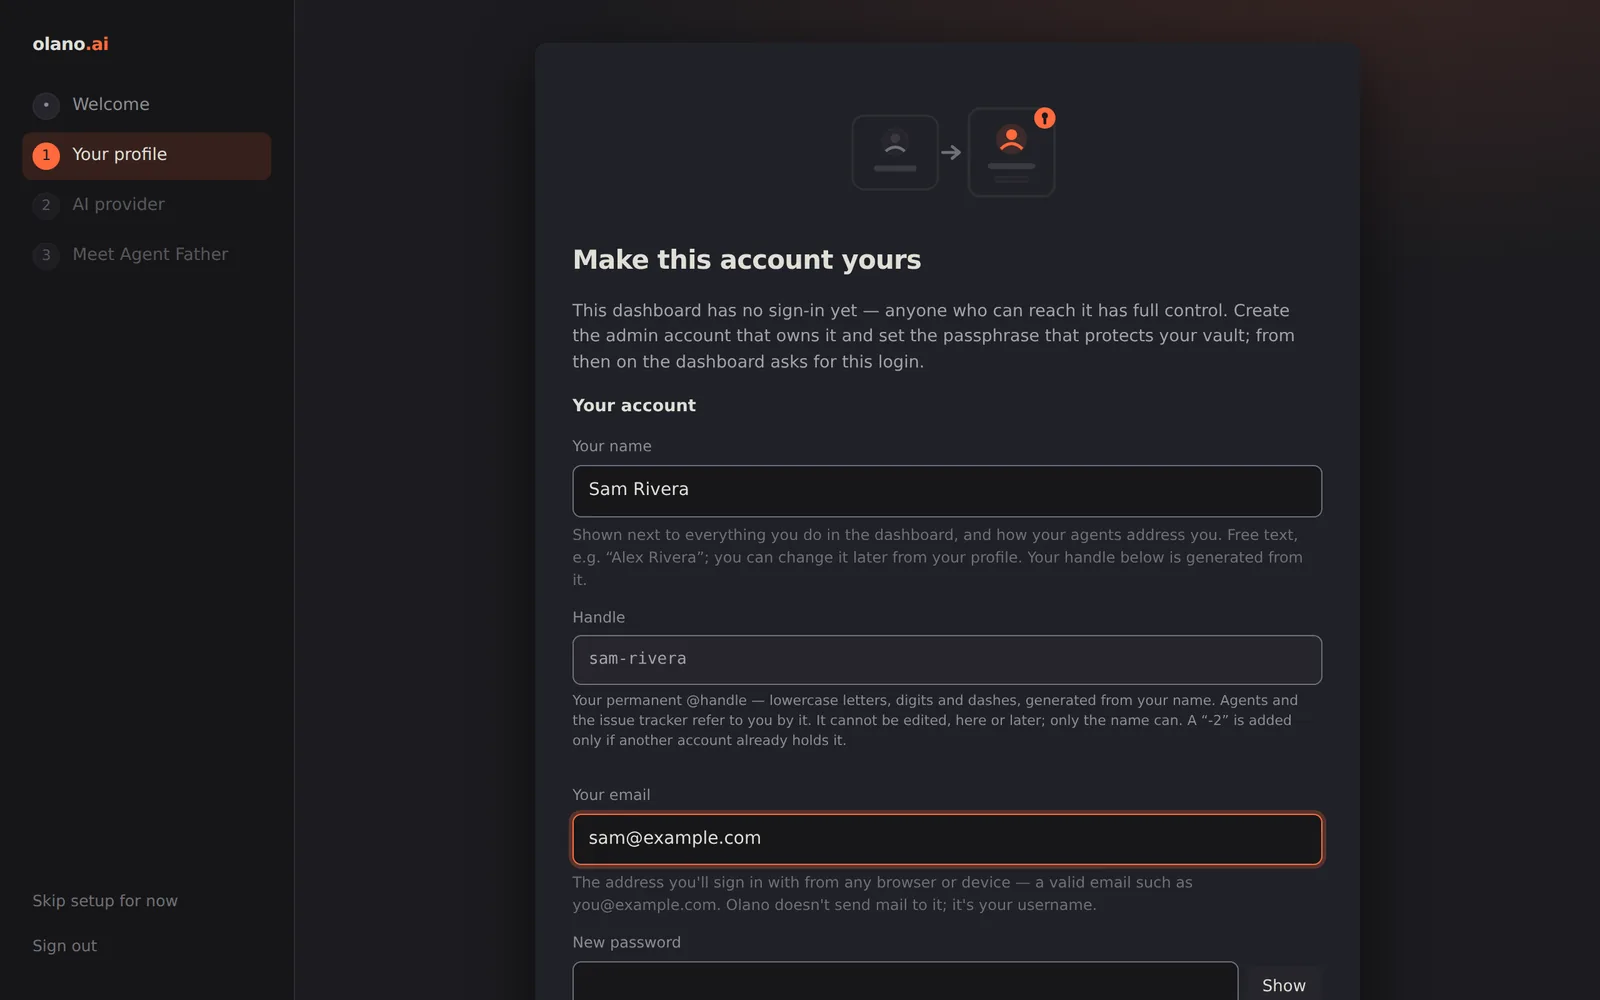
- Your profile. A deployed instance ships with one account: the email
you signed up with and a temporary password from your welcome email. You
signed in with that password a moment ago; this panel is where you create
your own user on it — it keeps your email and asks for your name, a
password of your own, and the passphrase that protects the vault.
Your handle (the permanent
@nameagents and the issue tracker refer to you by, likecarlos-rivera) is generated from your name and shown as you type; it is not editable, here or later, while the name always is. Saving replaces the temporary password everywhere — it stops working at once, and any other browser still using it is signed out — while this browser stays signed in as the user you just created: the rest of the tour, and Agent Father's chat at the end of it, run as you, not as the provisioned sign-in. On an instance with no accounts yet the same panel also asks for your email and creates the admin account, and signs you in as it. On a managed cloud deployment this panel is required, because the instance was provisioned with temporary credentials that must be replaced; the vault half asks for the temporary passphrase only if the vault is locked, and then links to your deployment card where it is copyable. - AI provider. On a managed deployment your plan's Olano Credits already cover the AI, so this panel just shows what is included; bringing your own keys stays optional. Self-hosted installs choose here: paste an Olano API key to run on Olano credits (the panel then lists what is included and your balance), paste a provider key, or both.
- Meet Agent Father. What Agent Father does for you — creating agents from a description, reconfiguring them, connecting messaging channels and services, inviting your team, keeping things running, and asking for your approval before it changes anything. The panel also tells you that Agent Father wakes up when you continue and greets you in the chat — usually within seconds, up to a minute on a brand-new instance — and offers starting points: things to try (create an agent from a description, change an agent's model, tools or channels, list the available providers and connectors) and things worth telling it about yourself (whether this is personal or business use, what your business or interests are, which systems and platforms you use, and which repetitive daily or weekly tasks you would like to hand to AI). Press Meet Agent Father and setup is over: the dashboard opens Agent Father's chat showing Agent Father is waking up… until its hello arrives, and it then asks what you would like to build first.
There is no separate step for a first agent, a messenger or web search: you ask Agent Father for those in the chat, and web search is already available on a managed deployment. Everything the wizard touches lives in the dashboard afterwards (your profile in the account menu, Providers, Vault).
Three ways to do everything
Every task in this guide can be done from one of three places, and they never disagree:
| Surface | Good for |
|---|---|
| The dashboard | seeing everything at once; admin work; anything with a form |
| Asking an agent | connecting a service, a messenger or a key; changing the agent's model, instructions, subagents or skills — the agent uses its built-in self_* tools and sends a magic link when a browser is needed (Ask the agent: self-configuration, magic links and admin tools) |
| Asking AgentFather | anything about the deployment as a whole: new agents, teammates and access, diagnostics, settings, updates — with an approval card in front of every change (Building agents from a conversation) |
There is no command line to learn: an agent never asks you to open a terminal, and nothing in this guide requires one.
Inside a chat session, slash commands control the conversation — /model to
switch models, /new to start a fresh thread, /memory to inspect what the
agent remembers, /verbosity to change how much it narrates. /help lists
them — the ones that agent exposes on that surface, plus any custom
commands you defined, so it never offers something it will then refuse.